0x01 引言
Seafile 是一个开源、专业、可靠的云存储平台,解决文件集中存储、共享和跨平台访问等问题,其他百度…
https://www.seafile.com
0x02 部署
本次部署系统环境 Ubuntu 22.04,后面操作均在 root 下操作
$ sudo lsb_release -a
No LSB modules are available.
Distributor ID:	Ubuntu
Description:    Ubuntu 22.04.1 LTS
Release:        22.04
Codename:       jammy
准备
安装依赖
apt -y update
apt -y install python3 python3-setuptools python3-pip python3-ldap libmysqlclient-dev

pip3 install --timeout=3600 django==3.2.* future mysqlclient pymysql \
Pillow pylibmc captcha jinja2 sqlalchemy==1.4.3 psd-tools \
django-pylibmc django-simple-captcha pycryptodome==3.12.0 cffi==1.15.1 lxml
安装 Java 有就跳过
$ apt -y install default-jre
$ java --version
openjdk 11.0.18 2023-01-17
OpenJDK Runtime Environment (build 11.0.18+10-post-Ubuntu-0ubuntu122.04)
OpenJDK 64-Bit Server VM (build 11.0.18+10-post-Ubuntu-0ubuntu122.04, mixed mode, sharing)
安装 Memcached 有就跳过
$ apt -y install memcached
$ memcached --version
memcached 1.6.14

# 启动并自启
$ systemctl enable --now memcached
安装 Nginx 最新版,有就跳过
$ apt-add-repository ppa:ondrej/nginx
$ apt -y install nginx
$ nginx -version
nginx version: nginx/1.22.1

# 设置自启
$ systemctl enable nginx
安装 MySQL8.0 版,有就跳过
$ apt -y install mysql-server
$ mysql --version
mysql  Ver 8.0.32-0ubuntu0.22.04.2 for Linux on x86_64 ((Ubuntu))
因为我新安装的数据库,要设置下ROOT密码 qwe123qwe 你们不是可以跳过
$ mysql -uroot -p
mysql> alter user 'root'@'localhost' identified with caching_sha2_password by 'qwe123qwe';
mysql> flush privileges;
安装 ElasticSearch,有就跳过
# 导入存储库的GPG密钥
curl -fsSL https://artifacts.elastic.co/GPG-KEY-elasticsearch | sudo gpg --dearmor -o /usr/share/keyrings/elastic.gpg

# 添加源
echo "deb [signed-by=/usr/share/keyrings/elastic.gpg] https://artifacts.elastic.co/packages/7.x/apt stable main" | sudo tee -a /etc/apt/sources.list.d/elastic-7.x.list

# 安装
apt update && apt -y install elasticsearch
systemctl enable --now elasticsearch

# 创建软连接
ln -s /usr/share/elasticsearch/bin/* /usr/local/bin

# 查看版本
$ elasticsearch --version
elasticsearch --version
Version: 7.17.9, Build: default/deb/ef48222227ee6b9e70e502f0f0daa52435ee634d/2023-01-31T05:34:43.305517834Z, JVM: 19.0.2
安装
下载 Seafile 最新企业版 9.0.14
https://download.seafile.com/d/6e5297246c/?p=/pro&mode=list
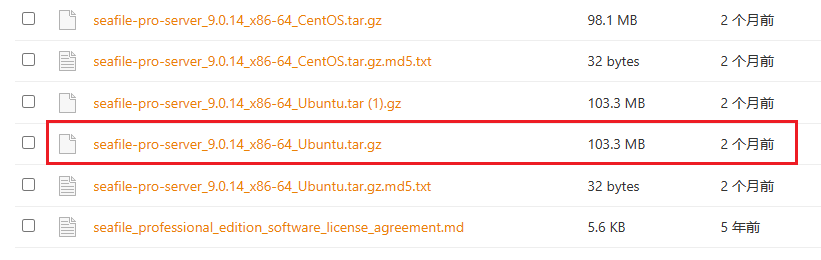
创建所需目录,并解压安装包
mkdir -p /opt/seafile && cd $_
tar -zxvf seafile-pro-server_9.0.14_x86-64_Ubuntu.tar.gz
自动安装(密码必须包含 大小写字母、数字、符号)
cd seafile-*
./setup-seafile-mysql.sh auto -u seafile -w QWEsad213! -r qwe123qwe
| 参数 | 说明 |
|---|---|
| -u | 自动创建Seafile数据库账户 |
| -w | 自动创建Seafile数据库账户密码 |
| -r | 数据库root密码 |
有该提示就是安装成功了
...
-----------------------------------------------------------------
Your seafile server configuration has been finished successfully.
-----------------------------------------------------------------

run seafile server:     ./seafile.sh { start | stop | restart }
run seahub  server:     ./seahub.sh  { start <port> | stostart <port> }

-----------------------------------------------------------------
If you are behind a firewall, remember to allow input/output of these tcp ports:
-----------------------------------------------------------------

port of seafile fileserver:   8082
port of seahub:               8000
...
Mysql8.0的到这里要去数据库修改下用户密码插件
$ mysql -uroot -pqwe123qwe!
mysql> alter user 'seafile'@'127.0.0.1' identified with mysql_native_password by 'QWEsad213!';
mysql> flush privileges;
运行
运行 Seafile
$ ./seafile.sh start
...
Seafile server started     # 看到这个说明启动成功

Done.
因为 Ubuntu22.04 安装不了 cffi 1.14.0 版本的,当你可以修改文件呀!!!
vim seahub/thirdpart/cffi
把它们改为 1.15.1 即可,目前运行而没见到什么问题…
__version__ = "1.15.1"
__version_info__ = (1, 15, 1)
运行 Seahub
./seahub.sh start
第一次启动 Seahub 需要配置管理员账户
What is the email for the admin account?
[ admin email ] admin@admin.com # 管理员账户邮箱

What is the password for the admin account?
[ admin password ]              # 管理员密码

Enter the password again:
[ admin password again ]        # 重复管理员账户密码

----------------------------------------
Successfully created seafile admin
----------------------------------------

Seahub server started           # 看到这个说明启动成功

Done.
使用 pgrep 命令检查 seafile/seahub 进程是否还在运行中
$ pgrep -f seafile-controller   # 查看 Seafile 进程
1792
$ pgrep -f seahub               # 查看 Seahub 进程
5436
5437
5438
5439
5440
5441
有回显就是启动成功了
编辑 seafevents.conf 配置文件
vim pro/python/seafes/tests/integration/seafevents.conf
在 [INDEX FILES] 字段下添加
[INDEX FILES]
external_es_server = true
es_host = your elasticsearch server's IP     # ElasticSearch 服务器ip或者域名
es_port = 9200                               # ElasticSearch 容器映射端口
重启 Seafile 程序,使配置文件生效
./seafile.sh restart && ./seahub.sh restart
0x03 配置
添加 Nginx 反向代理,复制执行
cat<<'EOF'>/etc/nginx/sites-enabled/seafile.hello.com.conf
server {
    listen 80;
    server_name seafile.hello.com;
    proxy_set_header X-Forwarded-For $remote_addr;

    # 仅能用
    location / {
        proxy_pass         http://127.0.0.1:8000;
        proxy_set_header   Host $host;
        proxy_set_header   X-Real-IP $remote_addr;
        proxy_set_header   X-Forwarded-For $proxy_add_x_forwarded_for;
        proxy_set_header   X-Forwarded-Host $server_name;
        proxy_read_timeout 1200s;
        client_max_body_size 0;

        access_log      /var/log/nginx/seafile.access.log;
        error_log       /var/log/nginx/seafile.error.log;
    }

    location /seafhttp {
        rewrite ^/seafhttp(.*)$ $1 break;
        proxy_pass http://127.0.0.1:8082;
        client_max_body_size 0;
        proxy_set_header Host $host;
        proxy_set_header X-Real-IP $remote_addr;
        proxy_set_header X-Forwarded-For $proxy_add_x_forwarded_for;
        proxy_request_buffering off;

        proxy_connect_timeout  36000s;
        proxy_read_timeout  36000s;
        proxy_send_timeout  36000s;
        send_timeout  36000s;
    }
    location /media {
        root /home/user/haiwen/seafile-server-latest/seahub;
    }
}
EOF
重启价值
nginx -s reload
添加 HOSTS
echo '192.168.6.128 seafile.hello.com' >/etc/hosts
配置证书
可参考上篇 Seafile 企业版部署之Docker…
在线编辑
如上
0x04 使用
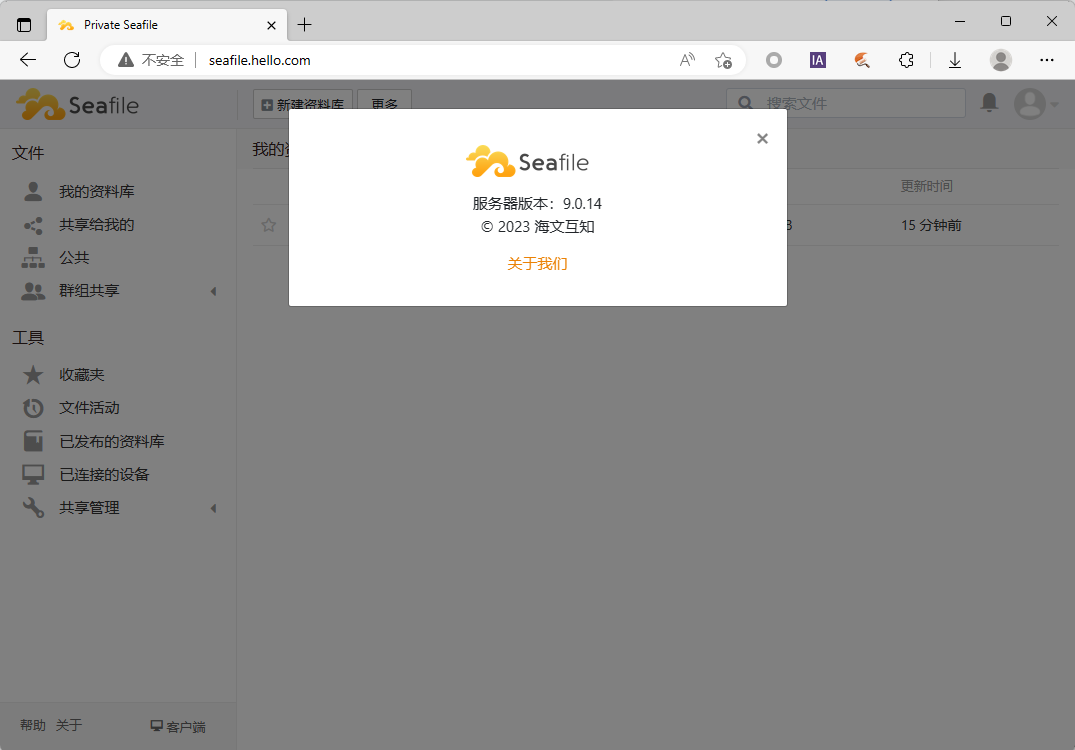
浏览器访问
http://seafile.hello.com/
使用刚刚注册的账号登录
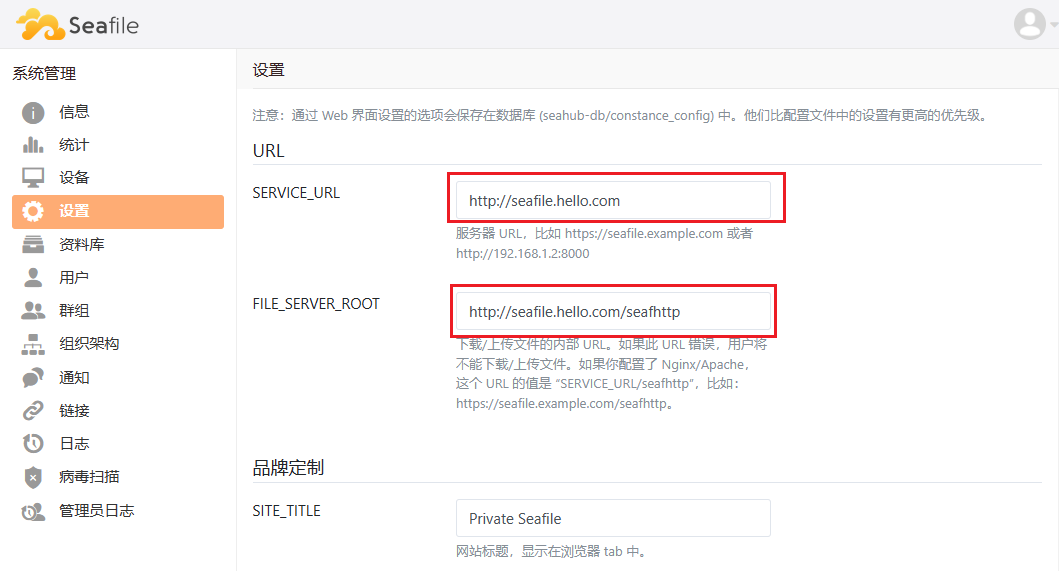
在后台设置下 SERVICE_URL 和 FILE_SERVER_ROOT
http://seafile.hello.com/sys/web-settings/
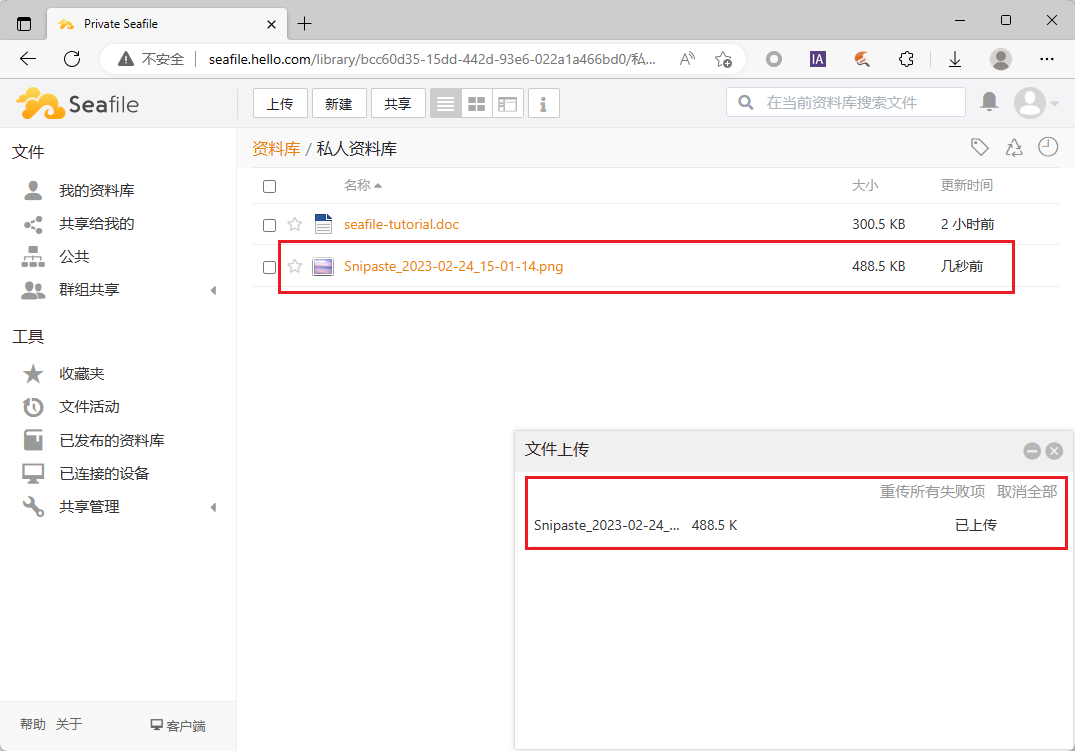
正常上传
客户端
下载 8.X 客户端
https://seafile-downloads.oss-cn-shanghai.aliyuncs.com/seafile-8.0.10.msi
登录
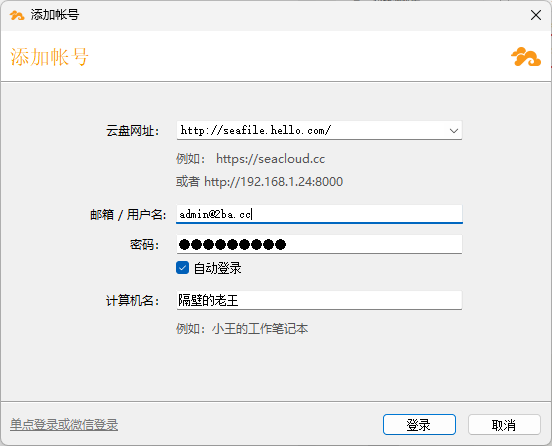
试了上传下载都没问题
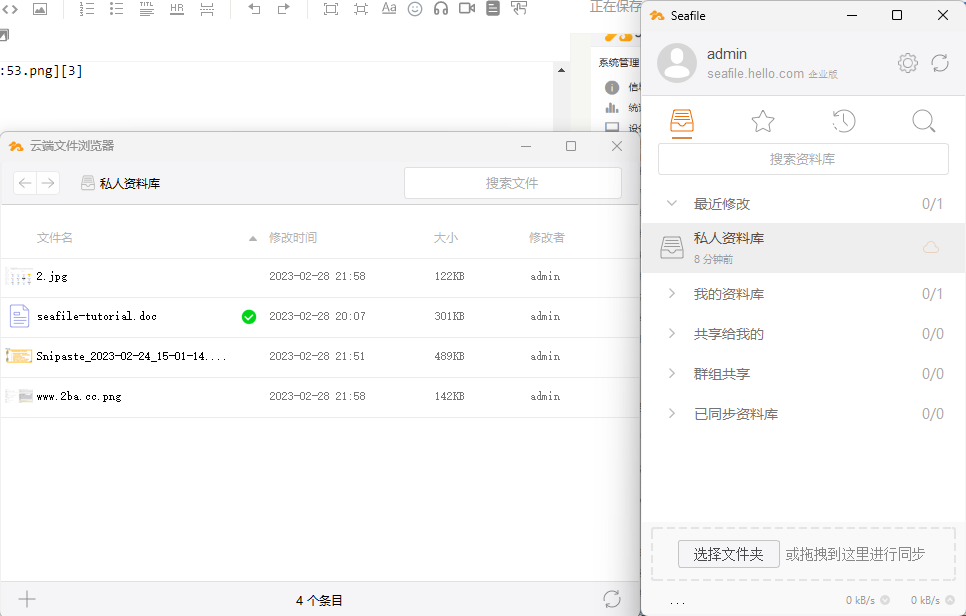
大文件也正常上传

其他的自己玩~~~
本文链接 点击前往
